I still remember the first time I tried making a soy candle at home. I thought it would be quick and easy, but I ended up with a candle that tunneled, barely smelled like anything, and looked nothing like the cozy jars I kept seeing online.
Instead of giving up, I kept experimenting, adjusting one small thing at a time, and slowly, candle making became one of my favorite creative rituals.
If you are just starting out, I want you to know this first. You do not need fancy equipment, years of experience, or a huge budget to make beautiful soy candles at home. You just need the right guidance, a little patience, and the confidence to learn as you go.
In this guide, I am going to walk you through homemade soy candle making for beginners in a way that feels simple and realistic. I will share exactly what I do, what mistakes to avoid, and how you can create candles that look good, smell amazing, and actually burn well.
By the end, you will feel confident enough to make your own soy candles for personal use, gifts, or even the start of a small business if that is something you are dreaming about.
Why I Chose Soy Candles Over Other Types
When I first started candle making, I tested a few different waxes. Paraffin was easy to work with, but I did not love the idea of using it regularly in my home.

Beeswax was beautiful but expensive and a bit intimidating for a beginner.
Soy wax quickly became my favorite, and here is why I think it is perfect for you if you are just starting.
Soy wax is natural and made from soybeans, which makes it a cleaner option for indoor use. It burns slower than many other waxes, so your candles last longer. It also holds fragrance well when used correctly, and it has a smooth, creamy finish that looks beautiful in jars.
Another reason I love soy wax is how forgiving it is. If you make a mistake, you can usually remelt and fix it. That flexibility made learning feel less stressful and more enjoyable.
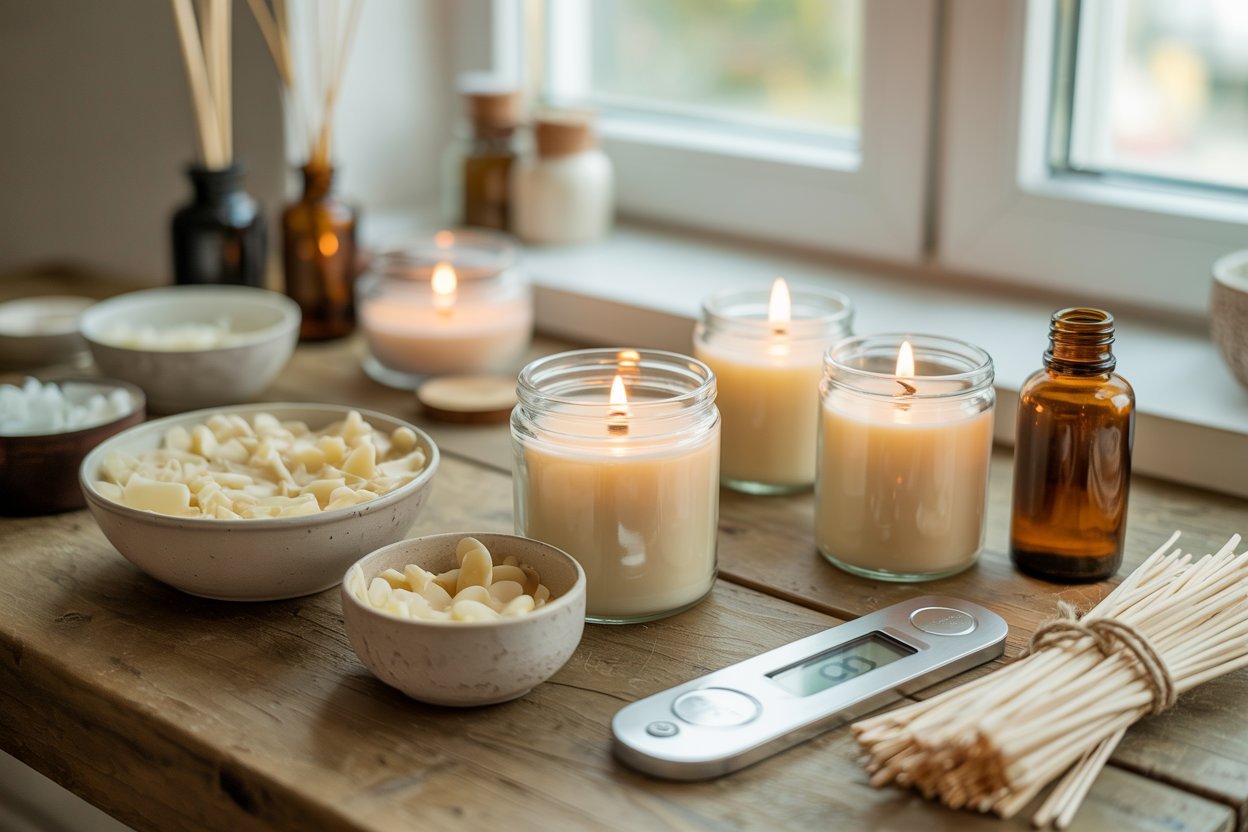
What You Need to Make Soy Candles at Home
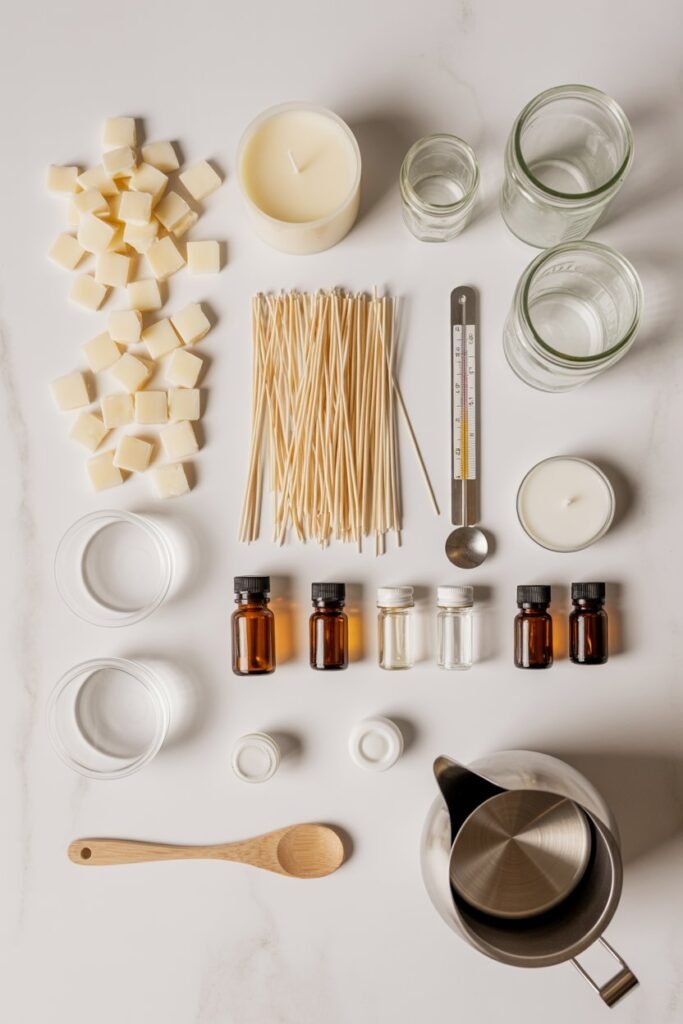
One thing I want to reassure you about is this. You do not need a studio full of tools to get started. I began with just the basics, and you can too.
Here is what I personally use for beginner-friendly soy candle making.
You will need soy wax flakes, which are easy to measure and melt evenly. You will also need candle wicks designed for soy candles. Choosing the right wick matters more than you might think, and I will explain that later.
Heat-safe containers are essential. I started with simple glass jars, and I still use them today. You also need fragrance oil or essential oil, a thermometer, a heat-safe pouring container, and something to stir with. A basic kitchen thermometer works fine, and a silicone spatula or wooden spoon is perfect.
Optional but helpful items include wick stickers or hot glue to secure the wick, and a scale if you want precise measurements.
Understanding Soy Wax Before You Melt It
Before you even turn on the stove, it helps to understand how soy wax behaves. This alone will save you a lot of frustration.

Soy wax melts at a lower temperature than many other waxes. That means you need to heat it gently and avoid rushing the process. When soy wax overheats, it can affect scent throw and cause cosmetic issues like frosting.
I always melt my wax slowly and keep an eye on the temperature. This small habit made a huge difference in how my candles turned out.
Soy wax also needs time to cure. A candle might look ready after it cools, but the scent continues to develop over several days. I know it is tempting to light it right away, but waiting really pays off.
Step by Step Homemade Soy Candle Making for Beginners
This is the exact process I use every time I make soy candles, especially when teaching beginners.
Step 1: Prepare Your Containers and Wicks
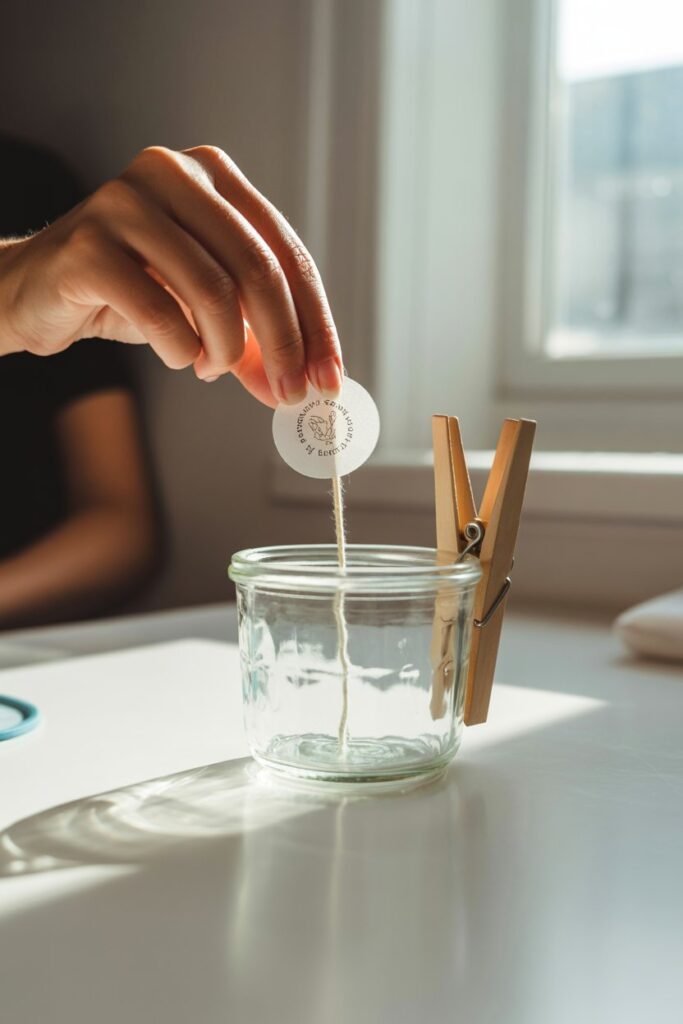
I always start by setting up my containers before melting any wax. I place the wick in the center of the jar and secure it using a wick sticker or a small dot of hot glue. Then I straighten the wick and use a clothespin or wick holder to keep it upright.
Doing this first keeps everything calm and organized later when the wax is ready.
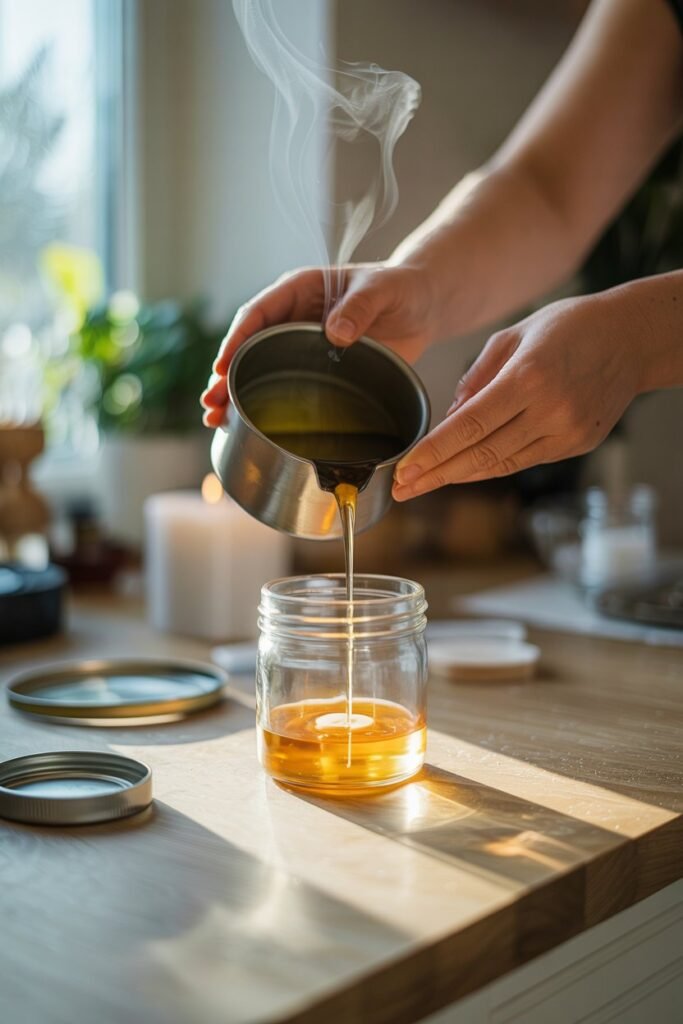
Step 2: Measure and Melt the Soy Wax
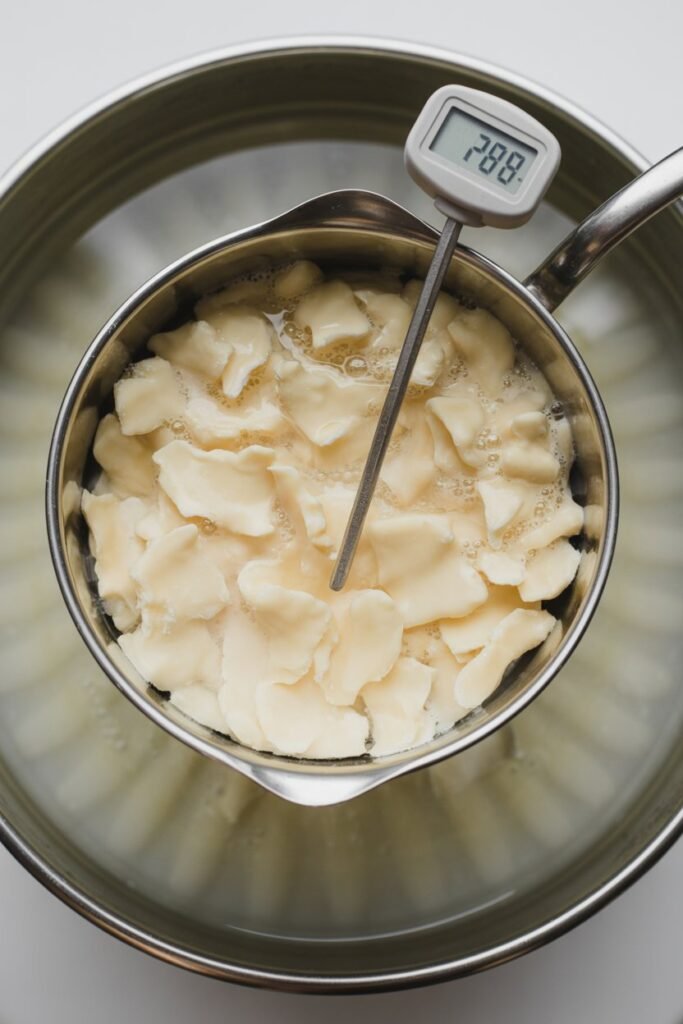
I measure my soy wax flakes based on the size of my container. A simple rule I use is to measure about double the container volume in wax flakes since they melt down.
I melt the wax using a double boiler method. I place the wax in a heat-safe pouring container and set it inside a pot of simmering water. I stir occasionally and monitor the temperature until the wax is fully melted and smooth.
Step 3: Add Fragrance at the Right Temperature
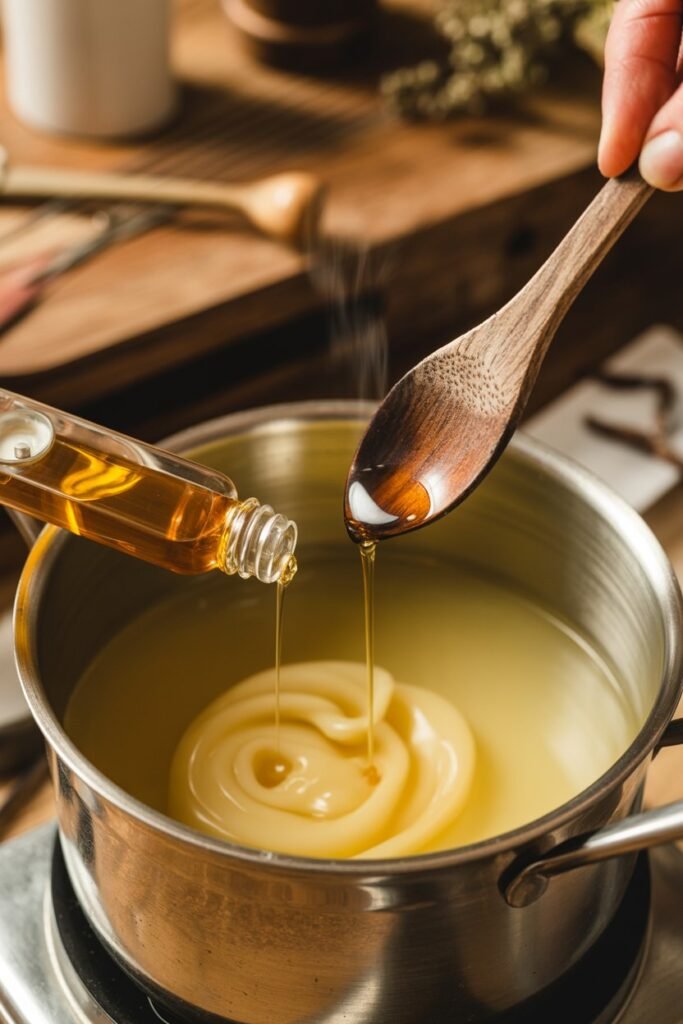
This step changed everything for me once I learned it properly.
I wait until the melted soy wax cools slightly before adding fragrance oil. The ideal temperature depends on the wax brand, but I usually add fragrance around 170 to 180 degrees Fahrenheit.
I stir slowly but thoroughly for about two minutes. This helps the wax bind with the fragrance, which improves scent throw when the candle burns.
Step 4: Pour the Wax Carefully
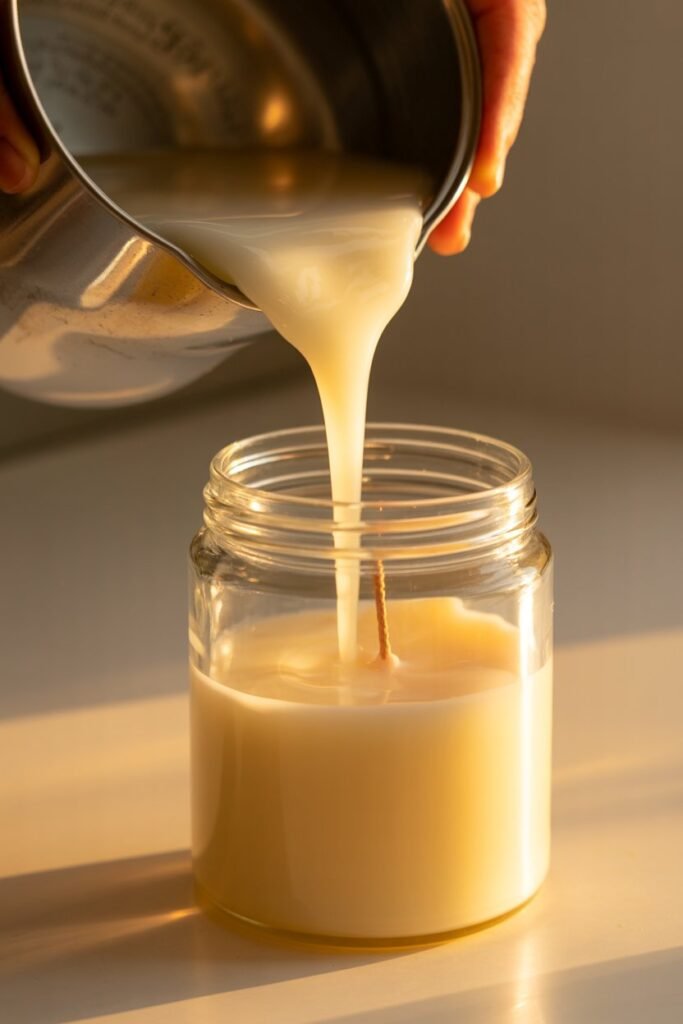
Once the wax is fragranced, I let it cool a little more before pouring. Pouring too hot can cause sinkholes and uneven tops.
I pour slowly into the container, keeping the wick centered. Then I leave the candle completely alone. This part is important. Moving or touching it while it cools can cause cracks or frosting.
Step 5: Let the Candle Cool and Cure
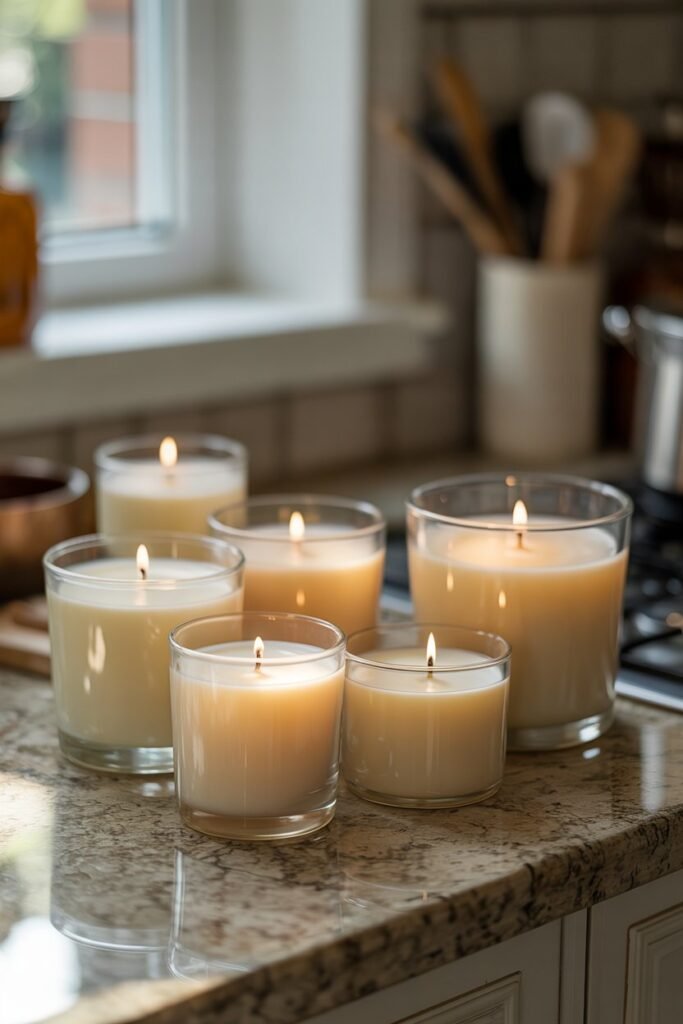
After the candle cools and hardens, I trim the wick to about a quarter of an inch. Then comes the hardest part, waiting.
I let my soy candles cure for at least seven days before burning them. This waiting period allows the scent to fully develop and gives you a better burn overall.
Common Beginner Mistakes and How I Fixed Them
I made every mistake you can imagine when I started, and that is why I want to help you avoid them.
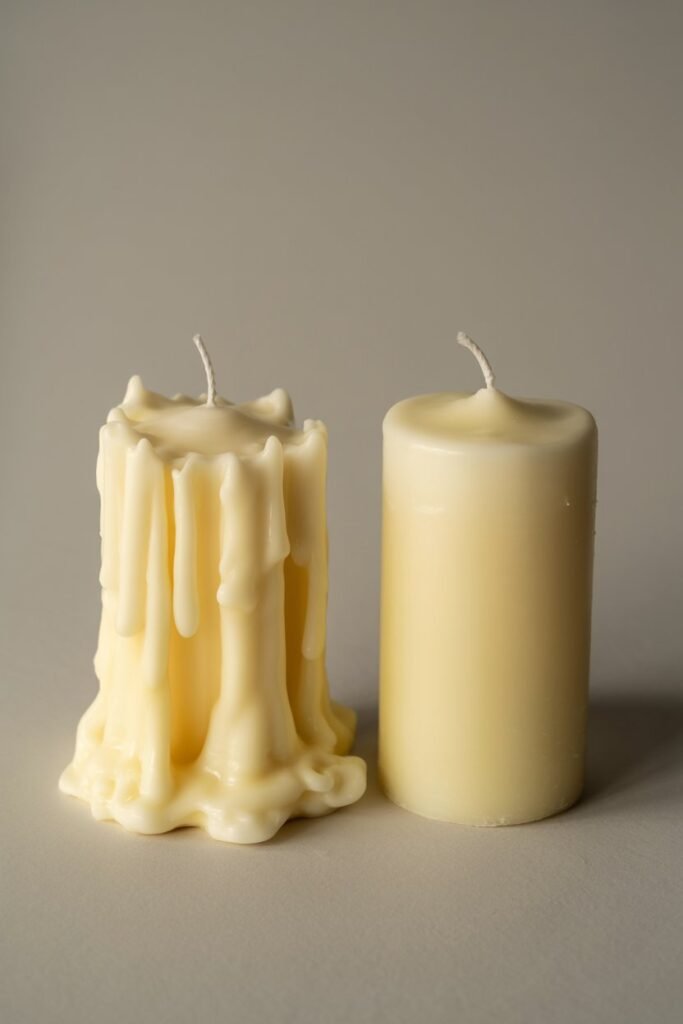
If your candle has weak scent, it usually means the fragrance was added at the wrong temperature or not stirred long enough. If the candle tunnels, the wick is likely too small for the container. If the top looks rough or frosted, that is normal with soy wax, but pouring at a slightly lower temperature can help.
The biggest lesson I learned was not to rush. Candle making rewards patience.
Tips to Make Your Soy Candles Look and Smell Better
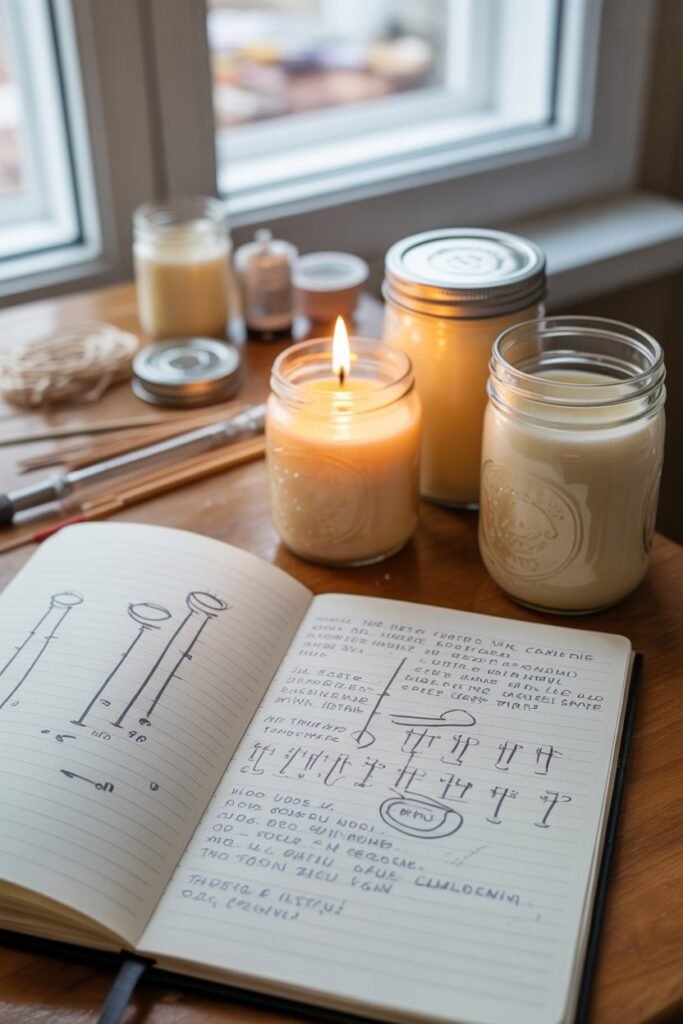
Over time, I picked up small habits that made a big difference.
I preheat my jars slightly to reduce temperature shock. I keep notes on what works and what does not. I test burn every new candle combination before gifting or selling. Most importantly, I allow myself to experiment without expecting perfection.
Each candle teaches you something.
Can You Turn Homemade Soy Candles Into a Business
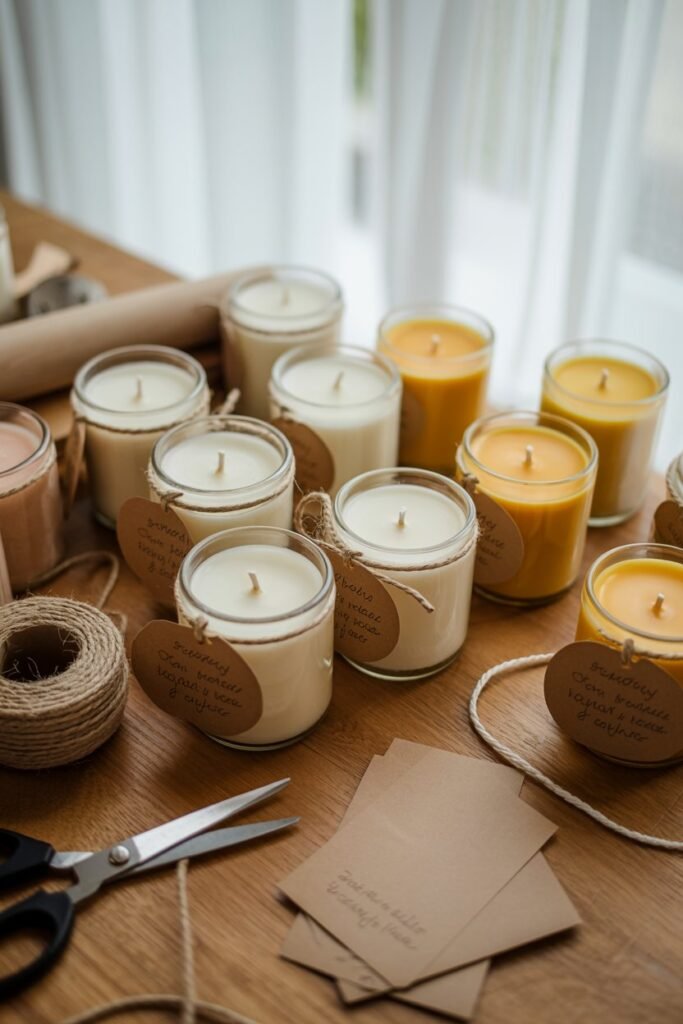
I get asked this a lot, and my honest answer is yes, but only after practice.
If you are thinking about selling candles one day, focus first on consistency. Make the same candle multiple times until you can recreate it reliably. Learn about labeling, safety testing, and pricing before jumping in.
Even if you never sell a single candle, the skill itself is incredibly rewarding.
Final Thoughts
Homemade soy candle making for beginners does not have to feel overwhelming or complicated. I started with curiosity, made plenty of mistakes, and slowly built confidence one candle at a time.
If you take anything away from this guide, let it be this. You are allowed to learn as you go. You are allowed to experiment. And you are allowed to enjoy the process, not just the final product.
There is something deeply satisfying about lighting a candle you made with your own hands. It fills your space with warmth, scent, and a quiet sense of accomplishment.
Start simple, stay patient, and trust yourself. Your first candle is just the beginning.